The first dev Q&A for Battle for Azeroth took place on the warcraft twitch channel. Here’s the new information we got from it:
General BfA Information
- Guild bank / AH infrastructure is lagging behind the infrastructure for realm sharding, which is causing the slow usage. In addition to that a change to how much the deposit costs to post stacks of items on the Auction House, so that you do not list for example 100 stacks of 1 herb but maybe 10 stacks of 10 herbs instead. More information will follow.
- Guild permission management has already received some improvements based on feedback, blizzard is listening to feedback to make more changes.
- More tools such as permanent bans for Communities are on the list for the developers. Feedback will also give direction to how Communities will continue to evolve.
- There are no plans to reduce the amount of trash in dungeons.
- There are wanted quests for both factions that either give reputation or not. They are looking to see if there’s disparities.
- We will see how the war impacts the other races of the Alliance and Horde in the future.
(Azerite) Gear
- The current plan is to roll out a hotfix that will take effect with the weekly reset to be able to trade azerite armor, adhering to the same loot trading rules as other pieces. (You need an item of atleast that item level on that slot to be able to trade it)
- As a catch up mechanic, over time you will need less artifact power to level up your heart of azeroth. This will start working with the next weekly reset.
- Specific azerite items drop from specific sources, so you are able to target them.
World
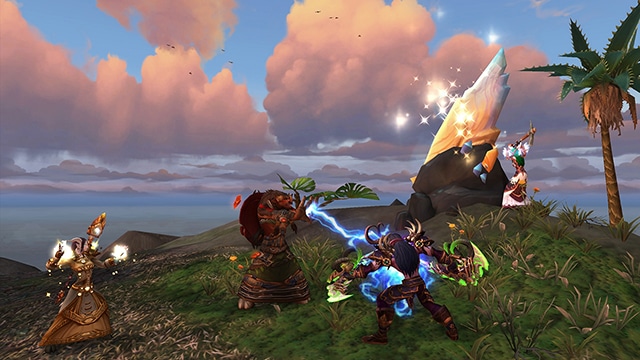
- World scaling is working as intended. While your gear improves, the world will become a little bit stronger. This way when you cast a 2,5 second spell to start combat, another player can’t start combat and finish it before you’re even finished casting your spell! The world scales at a much slower rate compared to how you improve as a player. This is how World of Warcraft has worked for the last 15 months. Argus for example worked with this entire scaling. Nevertheless there are some world quest mobs that have had too much health gain, these are hotfixed.
- The world feels stronger while leveling 110 – 120, the higher level you are the harder the world becomes. This is due to the way the entire world scaling works. It doesn’t feel great, and they’ll continue to look at ways to improve that.
- World Quests will stay relevant through the drops of Artifact Power and War Resources. It’s okay if you don’t feel you need a reward from an emissary when you have better gear from Mythic+.
- Emissary rewards are randomized, so that means horde and alliance will not always receive the same emissary reward.
Classes
- The development team is waiting for more data regarding performance of classes, more class balance changes will come! “We’re not done, we’re listening to feedback”
- The target for the first big class balancing patch is the end of the first week of September, before mythic raiding opens up. This, as always, can change!
PvP
- If the world PvP changes with lower levels compared to higher levels aren’t enough, more changes will be made.
- The bonus for War mode is something they’re being very careful with, they do not want to make it so rewarding that people feel obligated to have it turned on.
- War mode sharding for RP realms may be doing just among RP realms, they are still looking at the balance of that.
Island Expeditions
- The weekly quest for collecting 40k azerite is there to act as an exit point for doing islands for that week. Despite that looking at time, spent islands are a very lucrative way of earning artifact power.