The stability of the realms in the first 24 hours of the launch was not what many had hoped for. Here’s an overview of all the stability/maintenance blue posts:
Garrison Access Issues
We’re tracking a few issues that are impeding access or progression with Garrisons. To address these issues we’ll be restarting some Garrison services which will impact access to the Garrison for some realms. While these restarts progress, this may result in characters not being able to phase into the Garrison, or become temporarily stuck while phasing in. This is a temporary effect and should resolve as these services return.We’re continuing to look into other issues outside of this impact on Garrison access, including realm latency and its affect on gameplay and questing elements. We’ve implemented dozens of hotfixes over the last few hours, and will be continuing to work toward resolution of any outstanding issues.
The majority of our fixes are aimed at issues that are resulting in latency. Latency itself is not a singular issue, but is the effect of many compound issues–a few of which are related to Garrisons.
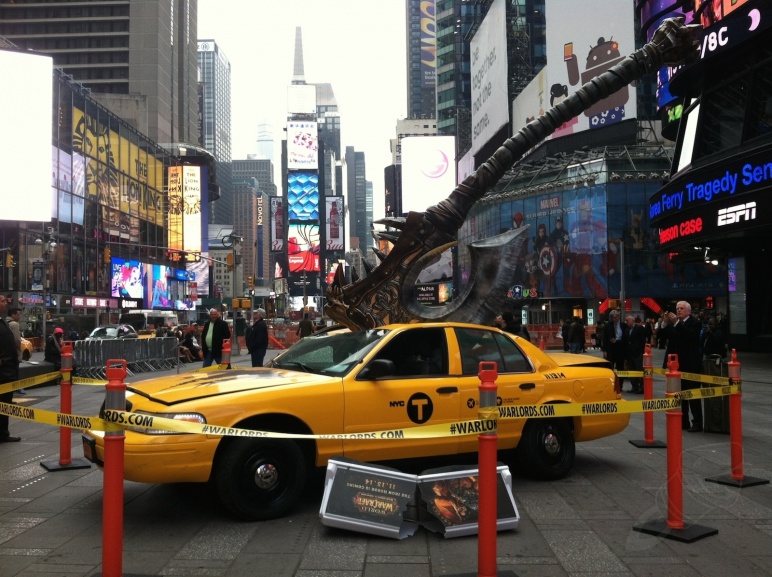
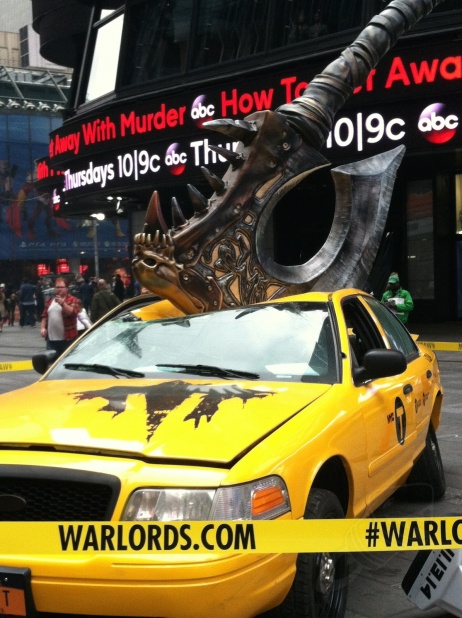
Warlords of Draenor Launch Update
[Update] 9:00 p.m. PST
We’ll be performing maintenance on all NA realms beginning at 5 a.m. PST in order to address issues with realm stability. We anticipate this process will last approximately 4 hours and appreciate your patience during this time.
[Update] 8:00 p.m. PST
Our top priority continues to be service issues impacting performance and long wait times on North American realms. We recently pushed a server change that caused disconnects, and as a result login services are heavily impacted as players attempt to (re)log in to the game. If you experience issues logging in, please be patient and wait a few minutes before trying again. We’re continuing to work to address other stability and latency issues as well as make additional improvements in game performance.
[Update] 6:01 p.m. PST
We’re continuing to work toward greater realm stability and address the service issues impacting latency. Our current biggest hurdle is the concentration of players in specific areas and zones, and an unexpected effect of that concentration on the realm stability. We’re continuing to maintain a lowered realm population cap to help with the stability, which is resulting in increased queue times. We’re seeing some increase in individual zones drop which are causing localized player disconnections as we get into primetime in the Americas, and if someone is disconnected they will quite likely run into a queue to log back in. Work is progressing on improving realm stability through fixes targeting individual in-game issues, as well as on the backend game and network services.
3:02 p.m. PST
We’re excited to finally launch Warlords of Draenor and explore this new world with you, but we know that the experience has been less than ideal as we approach our first full day of launch.
Europe was our first region to launch, and we encountered a few issues due to the sheer number of players attempting to enter Draenor from a single location. We worked to add multiple new ways to access Draenor, and this helped ease some of the initial rush into the new expansion as players were able to access it from their capital cities, as well as from the shrines in Pandaria.
While that solution helped a ton for our North American launch, we ran into a few other issues, including a distributed denial of service attack, that resulted in increased latency.
To help correct for this and other issues, we’ve temporarily lowered maximum realm populations. This means there will be high queue times experienced on high-population realms.
Here are some of the other important issues we’re currently working to address:
- Instance servers timing out, which may impact dungeon access
- Continent server issues, which are resulting in Player Not Found and disconnection issues
- Garrison server issues, which are resulting in phasing and performance issues
We’ll post updates here as we make progress against these issues. Thank you for your zeal to face down the tyranny of the Iron Horde—and for your continued patience as we work to improve the current experience.
Realm Maintenance For Both EU and NA
6.0.3 Hotfixes: November 13
November 13
Update 3: 09:30pm PST
Classes
- Monk
- Brewmaster
- Resolved an issue where Keg Smash may sometimes not generate Chi when used.
- Brewmaster
Quests
- Artificer Romuul: Resolved an issue where players may sometimes not receive this quest after completing the Embaari Defense Crystal event.
- Book Burning: Shadowborne Dementor should now always drop a Shadow Council Spellbook.
- Shivertail’s Den: Made a change to make it easier to receive credit for “Find Shivertail’s Mother”.
- The Great Salvation: Draenei prisoners should spawn more frequently now.
- The Warlord’s Guard: Increased the spawn rates for Thunk, Gullok, and Splorg.
- These Colors Don’t Run: Characters now receive credit towards planting a Frostwolf Banner when they defeat or help in defeating a Bladespire Ogre with the exception of Bladespire Mauler, Chef, Boarbuster, Ogron, and Goresnout.
- Wrath of Gronn: Increased the spawn rate for Captive Gronns.
Creatures and NPCs
- Collision geometry has been added to Drek’Thar, Thrall, and Gazlowe in Frostfire Ridge.
- Gorg the Host should now allow multiple players to receive credit for defeating it.
Battlegrounds and Arenas
- Resolved an issue where item levels for Battlegrounds, Arenas, and Skirmishes brackets below level 100 were not scaling correctly.
Items
- Epic rings that are a part of the Legendary quest line can no longer be disenchanted.
Update 2: 6:00pm PST
Quests
- Adherents of the Sun God: Increased spawn rates for Adherent Bladewing.
- Dark Enemies: Increased spawn rates for Shadowmoon Voidmancer.
- Escape from Shaz’gul: Players can now receive completion credit for the quest by defeating Terrorfang at the end.
- [Requires a realm restart.] Gormaul Tower: (Temporary) Completion credit for the quest is automatically awarded once players reach the top of the hill.
- Great Balls of Fire!: To address an issue where some players were unable to destroy the barricade, players now receive quest completition credit once they get to the top of the ramp.
- Quakefist: Quakefist’s health now scales based on the number of players fighting it.
- These Colors Don’t Run: Multiple players can now place a banner on a Bladespire Ogre if they had tap rights.
Creatures
- Various Kaliri in the Spires of Arak area should no longer be too high off the ground to be attacked.
- Various creatures should now correctly have a chance to drop fur that could be used for tailoring.
Items
- Abberant’s Paw, Gnarled Goren Jaw, and Redclaw’s Gutripper now give a bonus to Spell Power.
- Toy Train Set has been temporarily disabled.
Update 1: 1:30pm PST
Classes
- Druid
- Balance
- Resolved an issue where the Eclipse indicator in the UI can sometimes not match the Druid’s current Balance power.
- Balance
Quests
- Back to Work / Looking for Lumber: Greatly increased the number of trees available to mark for both Horde and Alliance versions of the quest. Additionally, Lunarfall Ravens respawn much more quickly now.
- Closing the Door: Resolved an issue where Void Portals may sometimes not close correctly.
- Honor Has Its Rewards: The Shamanstone no longer requires characters to interact with it and will grant its blessing to players that are nearby.
- Quakefist: Quakefist now spawns outside of the cave, making it easier to locate.
- Ship Salvage / What We Need: Drudgeboat Salvage should now respawn more quickly.
- The Clarity Elixir: Pristine Star Lily can now be looted by multiple players at the same time.
- These Colors Don’t Run: Greatly increased the spawn rates for Bladespire Ogres and made them share tap credit.
- Vengeance for the Fallen: Bleeding Hollow orcs respawn much more quickly now.
Creatures
- Durotan at Beastwatch in Gorgrond is now significantly tougher.
- Gorum can now be tapped by multiple characters. All players who contributed to defeating Gorum will now become eligible for loot.
Raids, Dungeons, and Scenarios
- Challenge Mode
- Characters can switch specializations once more after the Challenge Mode has started.