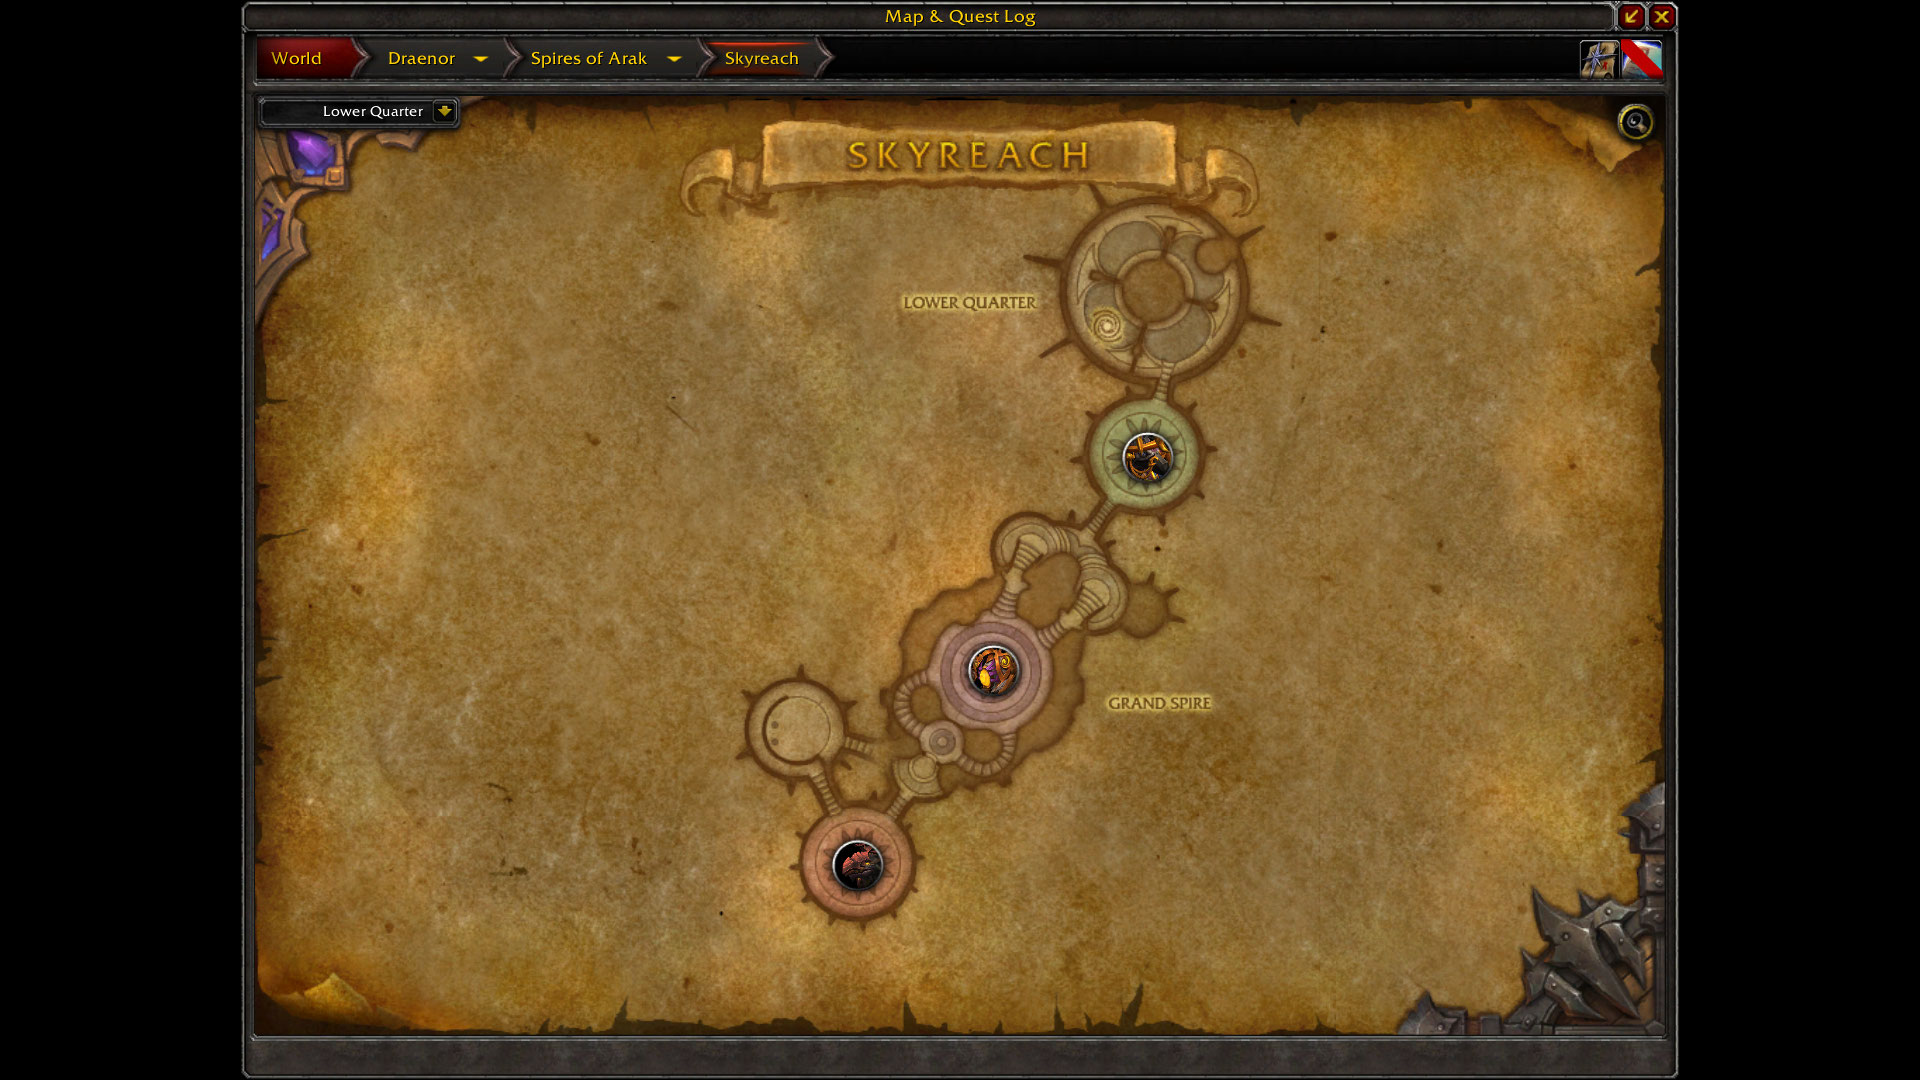

With the initial leveling experience in Warlords done, today we’ll take a look at the heroic Skyreach dungeon. This is the first dungeon you will have to do for the legendary quest. Check below the break for the guide in text.
Hey guys I’m Mezzy from WoW Weekly and welcome to this Heroic Skyreach quick guide. Today we’ll be taking a look at the bosses in the Warlords of Draenor dungeon Skyreach.
First up is Ranjit. Ranjit is a fairly challenging boss in terms of movement, and you can expect to be moving a lot during this fight.
His first ability is one the tank should look out, Piercing rush. This is a small wind up attack which deals large damage on contact, although this can be somewhat difficult to move for. His second ability is Fan of blades which is an ability that will always hit a ranged player, It puts a bleed dealing some minor damage over 6 seconds, but it adds up. So this is something to look out for if you’re a healer.
Throughout the fight, Ranjit will throw an orange blade to someone, called Spinning Blade, this blade moves in a semi circle around the platform and if you get hit by it you’ll take some damage. There is also a white blade which Ranjit will throw at a random enemy, it will land where they stand and it will create a small wind line which will rotate and deal damage, just be sure to stay out of it.
His most noticable ability is Four winds, which creates a huge wind wind wall, in a curved plus shape, rotating slowly and dealing large amounts of damage to those it makes contact with. This can be difficult to avoid alongside the spinning blades. Finally, we have lens flare, a fixate similar to one we will be seeing later on in the dungeon, a beam of light will slowly follow a player and leave fire on the ground dealing 35k damage per second. Best to run this around the edge of the platform.
Up next is Araknath. This boss only has 3 abilities, and is largely just a check on how much damage/healing you can do. First up is smash, where Araknath will smash the ground and inflict great physical damage to all enemies in a small area. Its best to move out of this, although a majority of the time its not hitting those standing in max melee distance range.
Next is burst, this damage is unavoidable fire damage, and every cast increases damage by 4%. This is where the DPS check comes in, as you need to kill it before your healer can no longer keep up. His final ability, the part that makes this fight hard – Energize. There are crystals situated around the room, and 2 of them will channel a beam that will heal the boss for 75% of its maximum health every second. Players have to block this, but doing so will cause you to take 10k damage per second. Its best to use personal damage reduction cooldowns to survive these, when accompanied with a burst. Rotating people who take crystals can also help but this may not happen in a random group.
The third boss, Rukhan, can be a bit annoying. Tanks can mitigate part of the fight, the stacking armour debuff called Pierce Armor. They can do this by just keeping their active mitigation up. Throughout the fight Piles of ash will appear on the floor, or be on the floor from previous solar flares.
Rukhan will summon solar flares, inflicting high aoe damage in a 5 yard radius where it’s summoned, and if it appears anywhere near piles of ash, these will also be reborn into birds. These birds have relatively little hp and can be killed with ease, although more and more will spawn as the fight goes on and you will still need to kill the boss as well. When summoned a bird fixates onto a player and if he reaches a player, it explodes, dealing 164k within 10 yards and 88k outside, so best not to do this. Killing a bird makes it explode for 25k within 10 yards, so for melee its best to avoid killing these. When the flares explode they can also revive any piles of ash in a 5 yard radius.
Finally, quills is an ability the boss will cast infrequently. You get plenty of warning and notice and you just need to LoS yourself from the boss using the giant pillar in the centre of the room. If you get hit by quills you will get a stacking debuff increasing your damage taken by 10% per tick. Also note that if noone is in melee range when it ends he will start aoeing the group with screech.
Finally we have High Sage Viryx, the final boss.
His first ability is called solar burst, something that should be interrupted every cast as it deals 90k damage to an enemy. Everyone has interrupts though so this should not be a problem. Next up is Lens flare, which is a giant beam that trails a player leaving fire. Pull this towards the edge of the platform to create the most possible space.
During the fight the boss will summon a minion called Solar Zealot, to pick up a player and take them to the edge, like the valkyr from the lich king. These can be slowed and stunned and must be killed. The animation used on the person getting marked is similar to a cross hair, and is fairly obvious on yourself, so you can make a good effort to be as close to the centre as possible. When freeing these players be wary of the lens flare, as you do not wish to trail this underneath them as you attempt to free them.
Finally, Viryx will summon a Shield construct which shields him for 99% damage taken, the easiest way to deal with this mob is to kill it, although you can just interupt it as well, however there will be a point where more than 1 is alive and this becomes considerably more difficult.
If you liked this quick guide please comment subscribe and click the like button. Be sure to check out our other content at wowweekly.net If you would like to keep up with when new videos come out but you don’t have a youtube account you can also follow us on facebook or twitter, at facebook.com/wowweekly or twitter.com/bbmezzy. For now I’m Mezzy and I’ll see you again next time.
