Let’s catch up on the news of the last part of last week!
Patch 6.2 Zone Preview: Tanaan Jungle
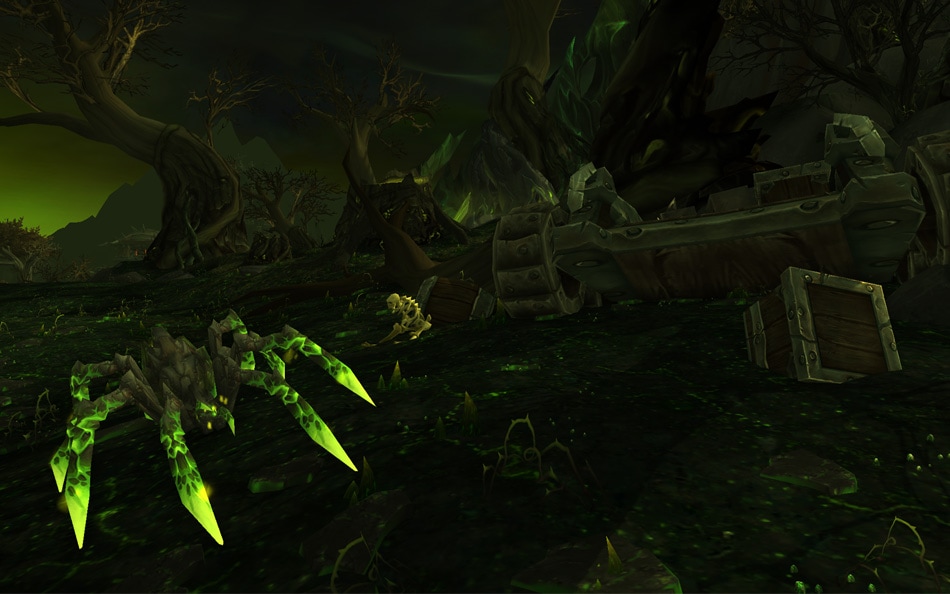
Deep within Tanaan Jungle, the manipulations of the warlock Gul’dan have twisted what remains of the Iron Horde into a sinister new form—an army of fel orcs brimming with demonic strength and insatiable bloodlust. Now Gul’dan continues his machinations from inside the seemingly impenetrable Hellfire Citadel, plotting to open a portal for a massive invasion force.
In Patch 6.2, level 100 heroes of the Horde and the Alliance must return to Tanaan Jungle and stop Gul’dan before his dark plans bring about untold ruin. As part of your quest, you’ll explore Draenor’s darkest corners, confront twisted new foes, and face a new series of chapter-based quests that will put everything you’ve learned on Draenor to the test.
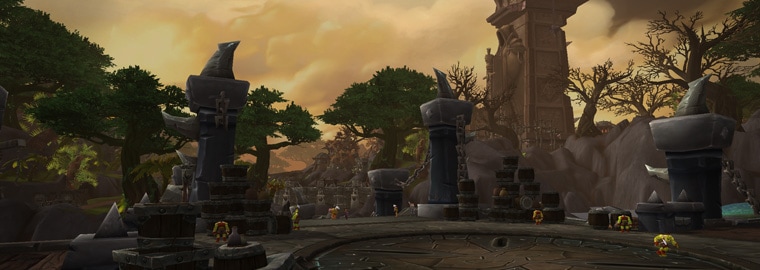
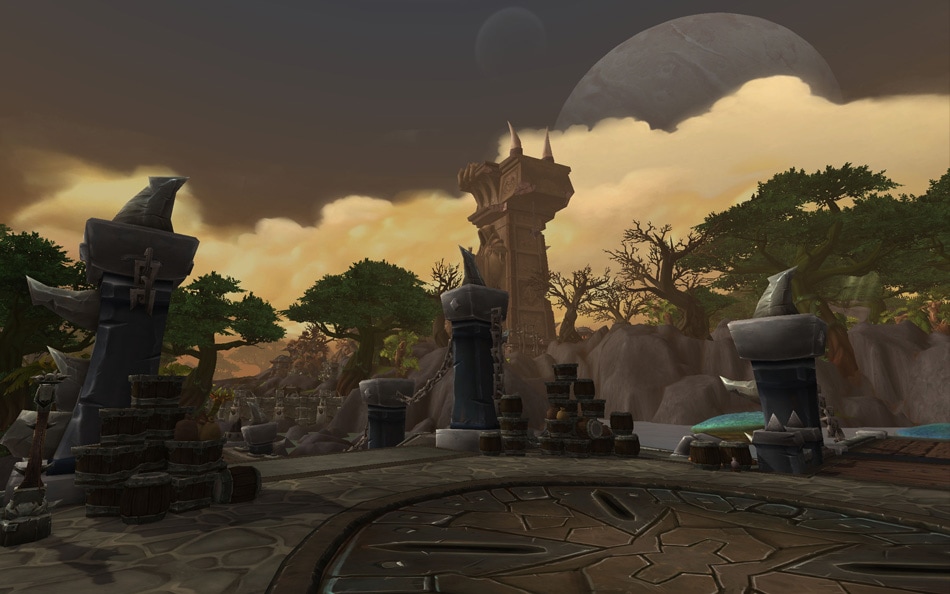
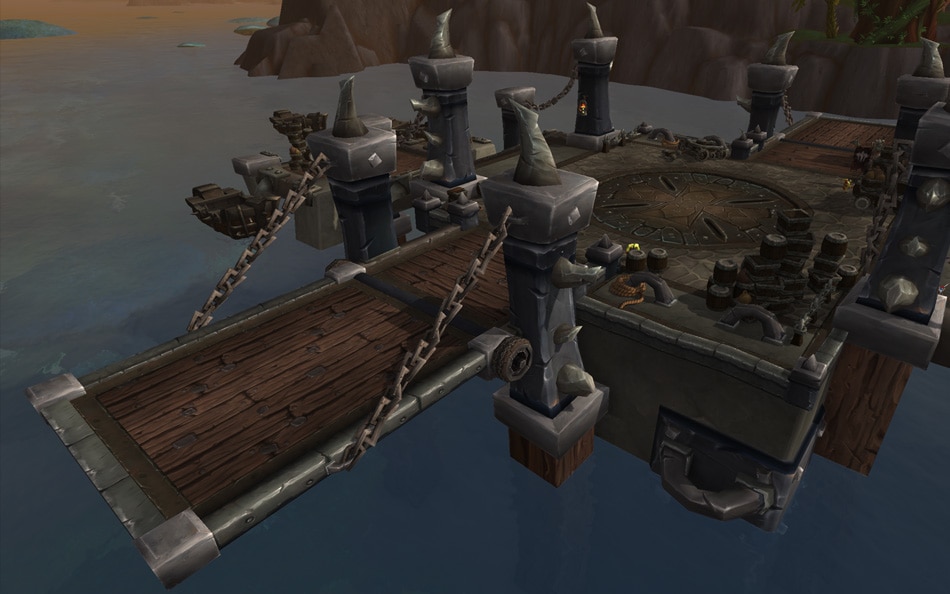
Getting to Tanaan Jungle
One does not merely stroll into Tanaan Jungle—there are preparations to be made, including establishing a Shipyard for your Garrison in a bid to take on this new threat from two directions: both land and sea. You’ll progress through a series of quests in which you’ll be asked to build a Shipyard, begin an assault on Tanaan by sea, and set up a new forward base hub—Vol’mar for the Horde and Lion’s Watch for the Alliance. Completing missions will provide materials for your Shipyard, supporting your ongoing efforts to control the seas of Draenor.
The Story Continues
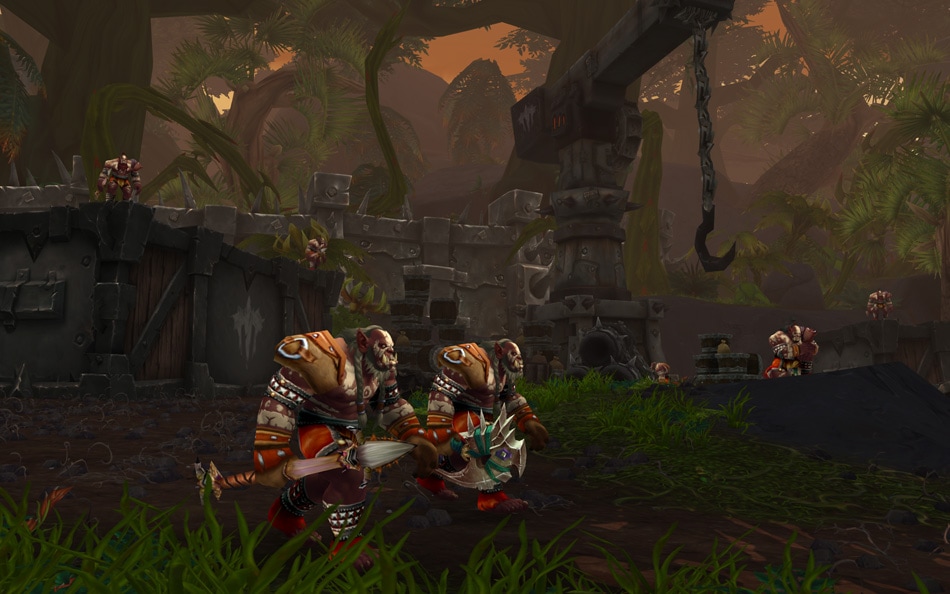
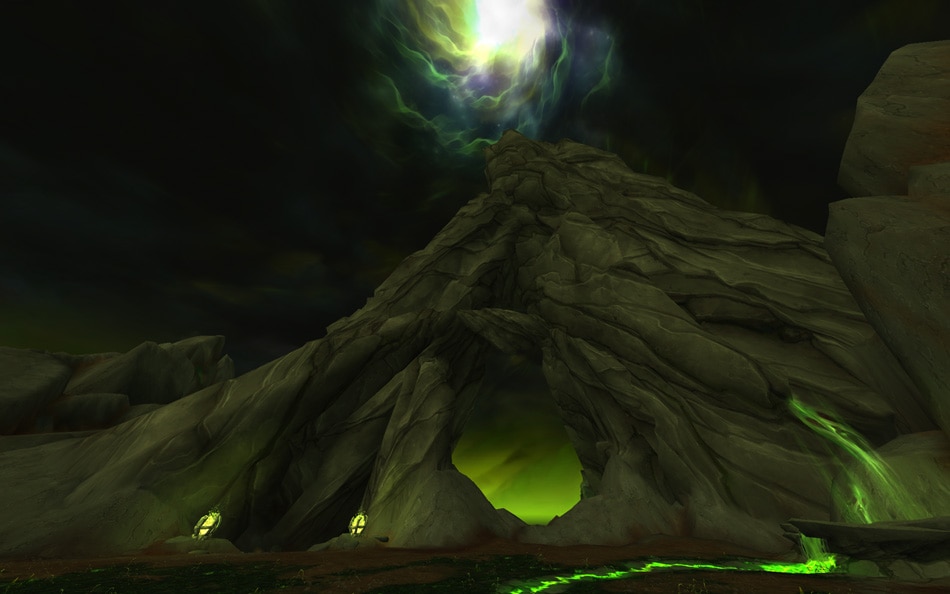
Much like the previous Garrison Campaign chapter-based quests, a new series of random quests will take players through the developing story and further into the jungles of Tanaan, including key locations such as the cave in which Kilrogg sacrificed his eye. Over the course of your journey, you’ll learn that Gul’dan and his fanatical allies have even more sinister plans up their sleeves.
Objective Hubs
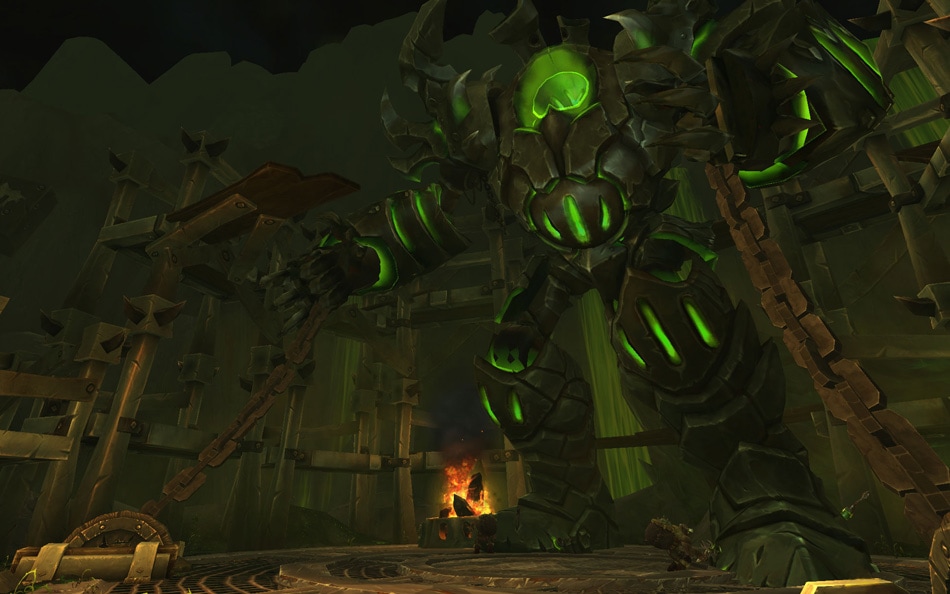
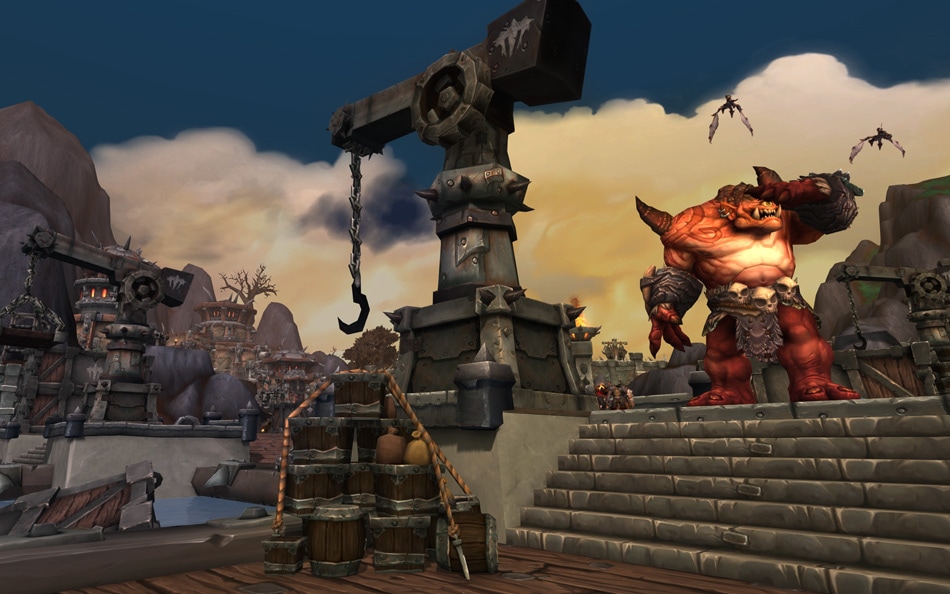
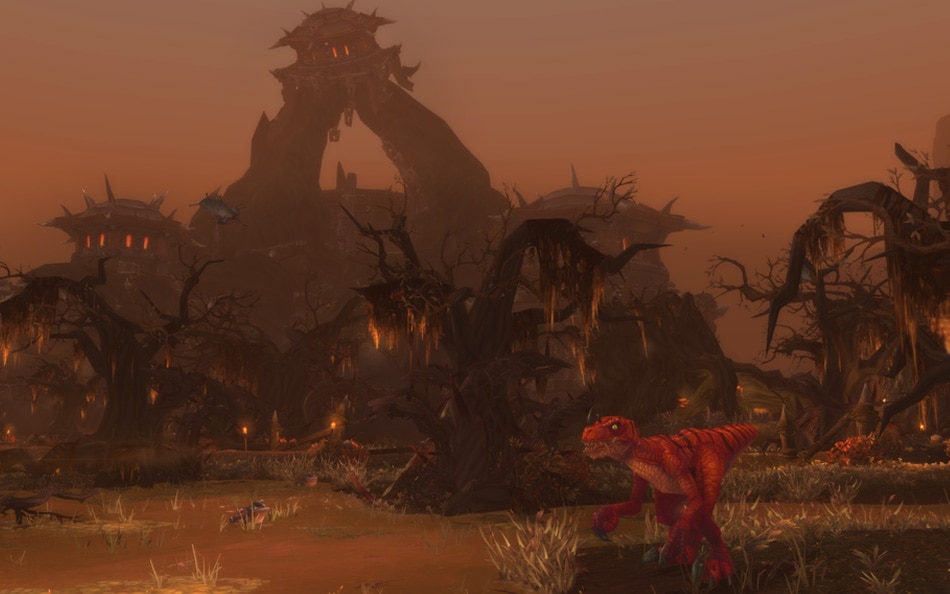
Once your new outpost is established, you’ll go on the offensive and choose one of two hot spots each day to assault. Your goal is to undermine Gul’dan’s plan to drag the whole of Draenor into chaos. There are seven new areas to explore, including:
- Ironhold Harbor: Stop the Iron Horde’s reinforcements from making landfall.
- Ruins of Kra’nak: Stop Gul’dan’s Shadow Council from recruiting the arakkoa.
- Temple of Sha’naar: Defeat demon-summoning Sargerei in this ruined temple.
- The Felforge: You’ll need to throw a monkey wrench into the manufacturing of fel machinery.
- The Iron Front: Hold the line in this massive battlefield to the west.
- Throne of Kil’jaeden: You and your party will face elite creatures and attempt to stem the demonic tide.
- Zeth’gol: Take your assault into the capital of the Bleeding Hollow.
More to Explore and Discover
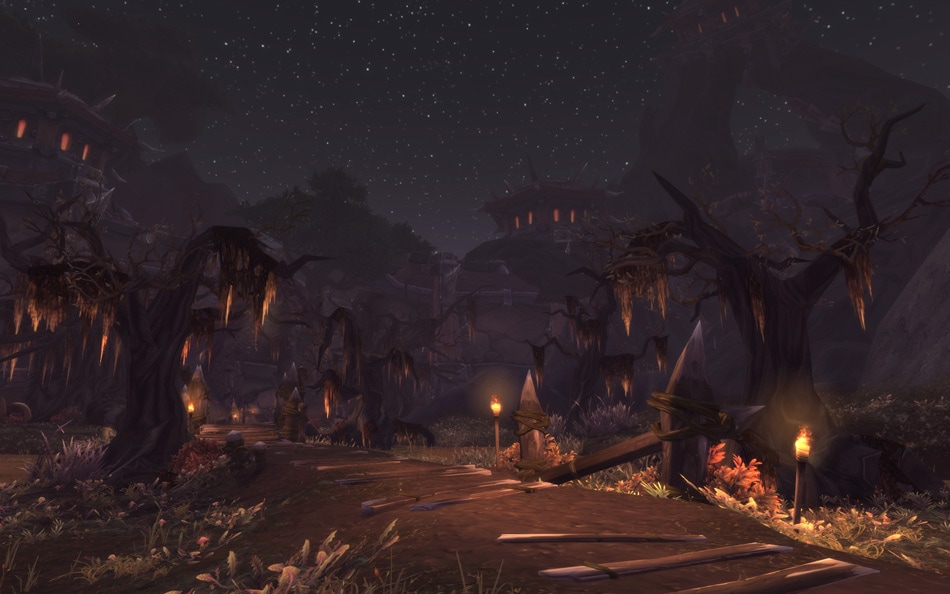
There will be even more to discover as you make your way through the ongoing battle for Tanaan. Safety is an illusion, and the jungle houses more than just Gul’dan’s new Horde. The warlock’s influence has had a corrupting effect on the land, and the fel water that flows here taints everything it touches.
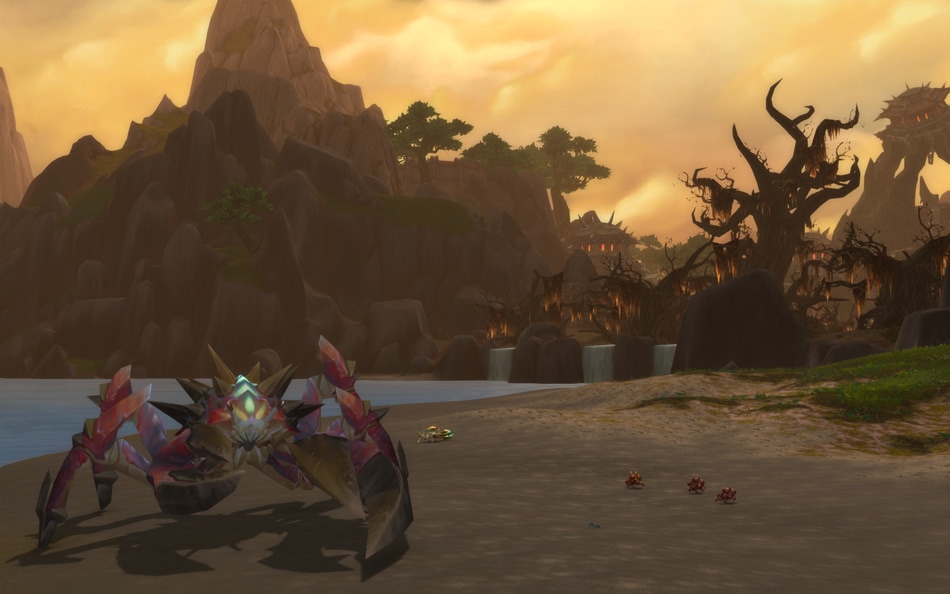
You’ll also discover more minor quest hubs and a variety of wildlife, along with dozens of new treasures and Rare creatures just waiting for unwary travelers to stumble upon. The path through this treacherous place is yours to forge.

Upcoming WoW eSports Events
May 2015
GCDTV
- NA Tournaments every Friday and Saturday at 6 PM Pacific / 9 PM Eastern / 3 AM Central Europe
- EU Tournaments every Saturday and Sunday at 8 PM Central Europe / 12 PM Pacific / 2 PM Eastern
- No EU Tournament May 2-3 to avoid scheduling conflict with ProGameX
- Live stream: http://www.twitch.tv/gcdtv
- Twitter: http://www.twitter.com/gcdtv_
ProGameX’s Second WoD EU Tournament
- Saturday, May 2 at 7 PM Central Europe / 11 AM Pacific / 2 PM Eastern
- More information: http://progamex.com/wow_tournament_registration
- Live stream: http://www.twitch.tv/progamexcom
- Twitter: http://www.twitter.com/ProGameXcom
ArenaMonster Opens 3v3 Tournament
- Sunday, May 17 at 5 PM Pacific / 8 PM Eastern / 2 AM Central Europe
- More information: http://us.battle.net/wow/en/forum/topic/17259015755
- Live stream: http://www.twitch.tv/ArenaMonsterTV
- Twitter: http://www.twitter.com/ArenaMonsterTV
Gamers League 3v3 Arena Tournament
- Saturday, May 30 and Sunday, May 31
- Live stream: http://www.twitch.tv/gamersleaguelive
- Twitter: http://www.twitter.com/GamersLeagueCom
Are you running an event that isn’t listed here? We’d love to hear from you! Get in touch with our eSports team by emailing [email protected]. Be sure to include “WoW” in your subject line!
6.1.2 Hotfixes: April 28
Here you’ll find a list of hotfixes that address various issues related to the recently released World of Warcraft Patch 6.1.2. Hotfixes are updates made on our end without requiring a new client-side patch. Some of the hotfixes below take effect the moment they were implemented, while others may require the realm to be restarted to go into effect. Please keep in mind that some issues cannot be addressed without a client-side patch update. This list will be updated as additional hotfixes are applied.
The latest batch of hotfixes are listed below. Previous hotfixes will be compiled by category to provide a quick summary of all hotfixes that have been applied since the start of World of Warcraft Patch 6.1.2.
Tags may be added to some hotfixes to denote a special condition.
- [Requires a realm restart] means the hotfix will not take effect until after a scheduled rolling restart or maintenance.
- [Hotfix in testing] means the hotfix is in early stages of testing and may not be implemented just yet. However, the change is important and is posted to provide as much advanced notice as possible.
Patch 6.1.2 Information
- Patch 6.1.2 Patch Notes
- Patch 6.1 Now Live
- 6.1 Patch Notes
- 6.1 Hotfixes
- Patch Installation & Troubleshooting
April 28
Class
Warlock
- General
- Fellhunter’s Spell Lock ability and the version of Spell Lock obtained through Grimoire of Sacrifice should now correctly share a cooldown with each other.
Quests
Legendary Ring Quest Line
- An Inside Job: Reduced the number of guards present and amount for health on all guards in the quest area.
Southern Barrens
- Run Out the Guns: Rageroar Rowboats should now continue to spawn.
Bug Fixes
Achievements
- Home Alone can now be completed using alternate versions of a Hearthstone such as The Innkeeper’s Daughter or Garrison Hearthstone.